December 29, 2011

What we got for Christmas

On the first day of Christmas winter brought to me:  2 kids with bronchitis, 1 child with the flu too, myself with bronchitis, countless sleepless nights, 18 loads of laundry, and a new puppy too.

My son said it best in the middle of one of his puke fests, "mama, this is going to be a terrible Christmas."
We didn't do any of the things we normally do for the holidays because we were all sick. (this is except for my super immune system husband who rarely gets ill). 
We had no egg nog in the house, no sugar cookies were made, no reindeer food put out for Santa to rest his sleigh when dropping off our presents, and no trips around the neighborhood to ooh and ahh at all the lights. 
We were on pure survival mode. Which included a nebulizer for my daughter that we have to do 4 times a day.  Let me tell you how fun that is to get a 2 year old to sit still for 10 minutes during each treatment.
We did however, get around to decorating our new puppy's living space under the stairwell.  We only had energy to color some pictures for her.  Hopefully, when things settle down we will be able to make her a little name sign, etc.  This helped get the kids excited and started their contribution to the dog that (after many name changes) was deemed "Holly" since we got her around the holidays. 


December 23, 2011

Relishing the Family Moment

At Christmas time, traditions begin...making sugar cookies together, going out and cutting down the Christmas tree, driving around the neighborhood and looking at lights with Christmas music playing, etc.

This was our second year decorating a ginger bread house.  This years house was a kit from the craft store and was made out of styrofoam.  I hot glued the house together and let the kids have at it with the foamy decorations. 
In the midst of decorating I found my OCD tendencies start to come out.  I was secretly correcting the kids placements of their stickers, etc.  I had to stop myself and step back.  I realized the more the ginger bread house was decorated solely by my children, the more precious it would be... no matter what it looked like in the end. 
So, this Christmas season I am reminded to live in the moment and relish these precious family times together creating traditions...not trying to make them perfect. 
Because after all, have you ever seen a more gorgeous ginger bread house?

December 19, 2011

A New Kind of Cookie For Santa

Peanut Butter Rice Krispie Cookies
Families love leaving cookies and milk out for Santa.  Here is a quick and easy recipe for Peanut Butter Rice Krispie Cookies.  They are super easy and require no baking.  They take about 10 minutes and only 4 ingredients! 

Here is what you'll need:
1/2 Cup honey/Karo syrup
1/2 Cup brown sugar or white sugar
1 Cup peanut butter (crunchy or creamy is your own preference)
2 Cups Rice Krispies

Directions:
In a medium pot on medium/low heat, stir together honey and sugar.  Stir until mixed and it starts to boil.  As soon as you see bubbles around the edges of the pot, turn the heat off. 

Add the PB and stir until all is mixed and smooth.  Add the Rice Krispies and gently mix all ingredients together.  Place small spoon fulls of cookie mixture onto laid out wax paper and let cool to set. 
DONE!
They are not pretty by any means.  But, they are a great boost of energy for Santa to finish his night delivering presents for good little boys and girls. (and a good source of protein for your kids for a sweet snack).

December 16, 2011

Baby Jesus Ornament

This month I'm blessed with doing the Christmas crafts for the kids in Sunday school at church.  Christmas Crafts-YES!!!
This past week we made super simple baby Jesus tree ornaments. 
Here's what you'll need to make one:
A small paper plate
Stapler
Simple drawing of a face (resembling a baby as much as you can artistically accomplish)
Christmas Bible verse sticker, or you can write the verse on the front or back of the ornament (We used Isaiah 9:6)
Hole puncher
String/yarn

Directions:
~Punch a hole in the top of the plate with your hole puncher.
~Fold the bottom of the paper plate about 1/3 of the way up. 
~Fold both sides in and staple the folded sides down.
~Glue the baby Jesus' face near the top of the plate so that Jesus looks tucked in swaddled clothes.
~Pull your yarn/string through the hole punched into the top of the plate and tie at the top.
~Place your Bible verse sticker on the ornament or write the Bible verse on the back of the ornament

I got to make this ornament with my son and had a blast with him and all the other children.  I was delighted when my daughter also got to make one in her class during Sunday school.  My heart melted when she came running out of the class carrying her ornament saying "Wook, Baby Jesus!"

December 13, 2011

Winter Trail Mix

This morning I woke up wanting to make my son's preschool snack for the day.  I have been trying to find an excuse to use some super cute snowmen zip lock bags I recently purchased.  So, I went to my cupboard to see what I had on hand and in my stockpile (gotta love the stockpile!).

Here are the ingredients I used:
Honey Nut Cheerios
Cheeze Itz
M & M's
Raisins
Teddy Grahams
Popcorn
A nice mixture of salty and sweet without nuts in case anyone in his class had an allergy.  I only wished I had mini pretzels to include as well.

December 11, 2011

Homemade Chocolate Truffles

The perfect chocolaty treat for the holidays!
Homemade chocolate truffles
Here is the recipe:
Ingredients:
2 1/2 packages (20 squares) Bakers semi-sweet chocolate
1 package (8 oz) cream cheese, softened
Decorations:  chopped peanuts, colored sugar sprinkles, cocoa powder

Directions: 
Melt 8 chocolate squares in pot on stove top (or microwave).  Beat cream cheese with mixer until creamy.  Blend in melted chocolate.  Refrigerate until firm.
Shape into small balls.  Place on waxed paper covered baking sheet.
Melt remaining chocolate squares.  Use a fork to dip truffles; return to baking sheet.  Decorate, then refrigerate for 1 hour. 
dipping the formed truffles into the melted chocolate
This is a recipe that I have had in my recipe box for years but have never had the gumption to try.  This year I went for it and although they have been a hit, I don't know if I'll do it again.
Here's the thing...it states that it'll make 36 balls.  I followed the directions to a T and I guess I made mine too big (slightly smaller than a golf ball each) because I only got about 20.  My main problem was the shaping of the truffles, because no one wants to eat a home made gift that looks like a hot mess.  So, this took awhile to get the shape correct without melting the chocolate truffles in my hands during the process.  It got messy!  Also, the directions say to use a fork when dipping the truffles in the melted chocolate.  It really was not functional to work this way because the truffle's chocolate on the outside was getting damaged.  So, instead I used appetizer spears and anchored them in styrofoam. 


But when all was done, they looked and tasted great.

I put the truffles in holiday tins from the dollar store and used some tissue paper and a little sticker note from scrap booking material for the inside to add to the presentation.

December 09, 2011

Garage Make Over

So, my husband had to go out of town for a week for work.  What's a gal to do?...Make over his garage (a.k.a. "men's den")
This "men's den" was not very true to it's name.  So I thought I would do my best to straighten it up without defiling it with a woman's touch.

Here is the before:

A cluttered mess

My motto was to try to organize (with a secret mission of making more space for my growing stockpile)
Rule of thumb for revamping a garage:  If it can be hung, hang it.
I scurried off to Lowe's, with my daughter in tow, and bought a few shelving units and lots of heavy duty hooks. 
After 3 days of non stop hanging, anchoring (you must anchor!), sweeping, vacuuming, etc.  Here is the end result.


(Notice my small shelf of overflowing stockpile from the laundry room stash.)

(the Christmas decoration boxes are still out so once they are put away, it'll be a little less cluttered)
I must say, I am super pleased! 

It's not perfect, but it is much better.  We have a lot more work to do, but we had to start somewhere.
On a side note, the hubby was super surprised and liked his newly refreshed "men's den".

December 05, 2011

Making Cookies Out of a Cake Mix

What do you do when you really want a cookie but do not have any of the proper ingredients? 
Go to the Internet!

I had the worst craving for cookies the other day.  Not a specific kind of cookie, but just a cookie!   I absolutely NEEDED one!

I had no chocolate chips, or any of the other needed ingredients to make a good cookie.  So, I did the next best thing-I checked my stockpile.  I had scored a great deal of 10 for $10 on these Pillsbury cake mixes.  Yeah!  I love a good deal! 
Each box of cake mix had super cute ideas for cupcakes and cookies, but I still did not have the right ingredients.  I went on the Internet and to my delight found a recipe for the perfect cookie I could make.

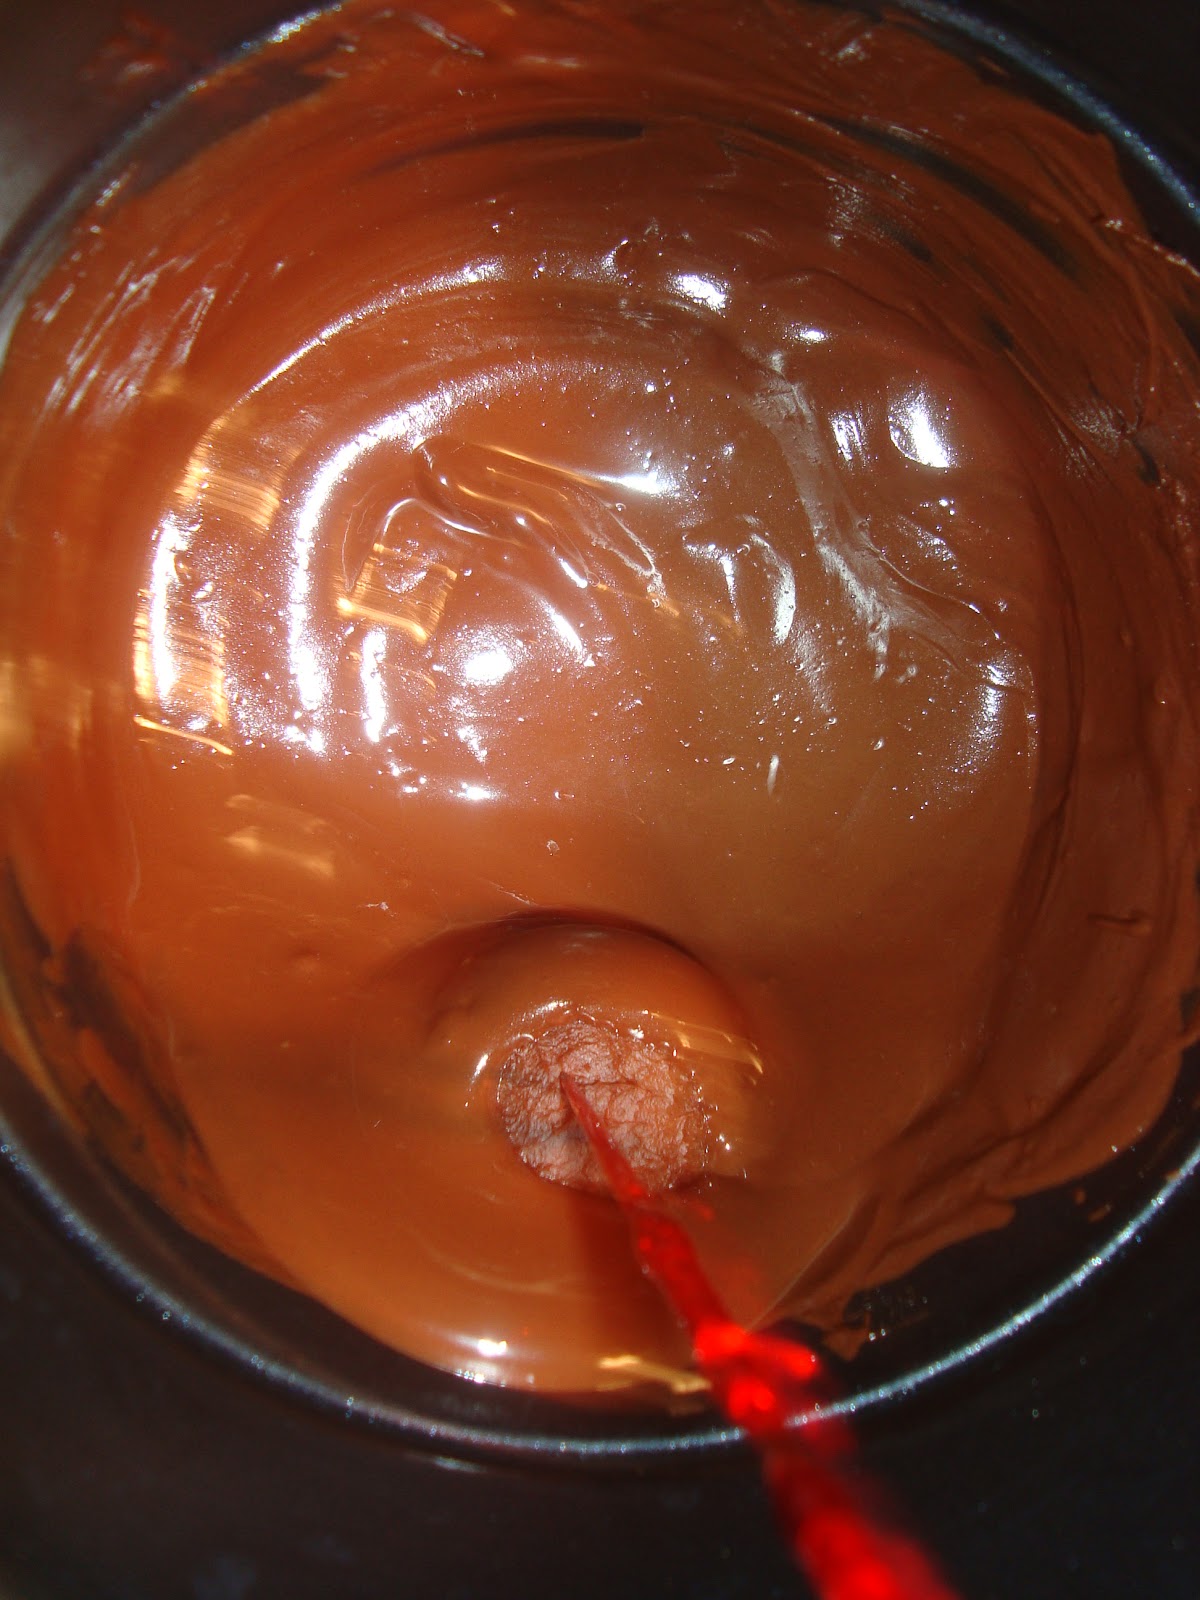
It's kind of like a snickerdoodle but way more moist.  Here is how it started.
                      
(ignore the white clumps of cake mix still in the bowl.  It was rather thick to stir so I had to break it up with a fork later.  This is pre-fork).

Things You'll Need
3 tbsp. sugar
1 tsp. ground cinnamon
1 pkg. golden butter cake mix
2 large eggs
1/4 cup vegetable oil
Shortening for greasing pans
Pans for baking cookies
Bowls and spoons for mixing
Drinking glass for flattening cookies

Directions


1.  Preheat oven to 375 degrees F. Grease one or two cookie sheets.
2.  Combine the sugar and cinnamon in a small bowl.
3.  Mix the cake mix, eggs and oil in large bowl, stirring the mixture until it is
     well-blended.
4   Shape the dough into 1-inch balls.
5.  Roll each dough ball in the cinnamon-sugar mixture.
6.  Place the balls 2 inches apart on cookie sheets. Flatten the balls with the
     bottom of a glass.
7.  Bake the dough at 375 degree F for eight to nine minutes or until the cookies
     are golden brown.
8.  Cool the cookies for one minute on the cookie sheets. Then remove the cookies to a
     cooling rack to cool completely.

This is the first batch I did-correctly by smooshing them down with the bottom of a glass.  I forgot to smoosh down the cookies on the second batch and they turned out just as good, but a little more rounded on top. 


 I  had to take a picture of the bottom of these cookie because they were baked to perfection.


Not the most flattering picture of my sweet Lilly.  But at least you get the idea that the cookies were soooooo yummy!  I'll definitely make them a second time.  The 3 dozen didn't even last 48 hours.

Here is the link to the website and recipe that I used.  So delicious!

December 03, 2011

How to Make Your House Smell Like Christmas

There have been quite a few tricks to try to make a house smell yummy and get one in the Christmas spirit.  There are great air freshener sprays, scented candles and aroma melts, and even plug in room fresheners that do a great job.
There is also a trick of simmering some drops of vanilla in a small amount of water on the stove top along with a few sticks of cinnamon.
What I have found to work best is simmering a pot of water with 'Christmas' potpourri.  This fills the house quickly with the wonderful smell of pine and cinnamon (mostly cinnamon with a pinch of ginger).  It is a quick way to fill your house before guests arrive with the Christmas spirit or just to have your house begin to feel a lot like Christmas.
I've had a small pot on my stove for the past 3 days and just turn it on whenever we want that smell in the house.  We also have a live Christmas tree up in the house that smells wonderfully pine'y' but the potpourri adds that extra cinnamon in the air. 
Merry Christmas!
Related Posts Plugin for WordPress, Blogger...